

Table of contents
- Imp Notes For Css
- Three ways to insert Css
- What is selector
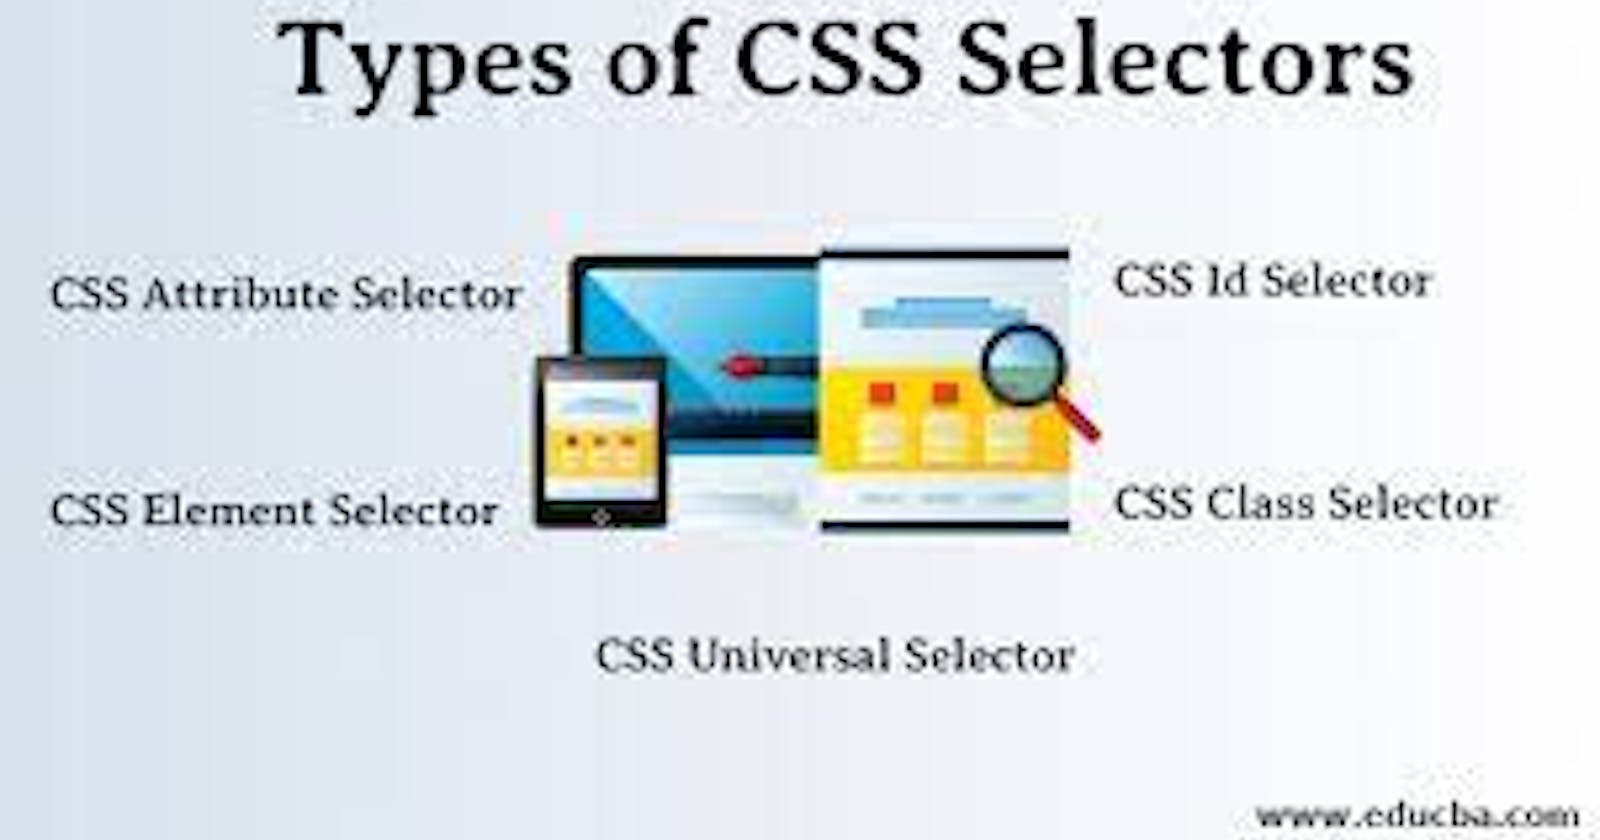
- Selector's List :
- Combinator's List
- Universal Selector
- Individual selector
- Class selector
- ID Selector
- Attribute Selector
- Chained selector
- Combined selector
- Inside an element
- Direct Child Combinator
- Sibling + or Adjacent sibling Combinator
- Sibling ~ or General Sibling Combinator
- Pseudo-classes
- Pseudo elemets:
In this blog I am going to tell you information about Css Selector, I know you must know how to design html page but many people get confused in Css ,how to use it? How to make html page attractive? So we will understand the answers to all these questions in this blog, After knowing simple CSS Selector you can style your page, let's start....
Imp Notes For Css
Apart from "selector" each ruleset must be wrapped in curly braces "{}".
Within each declaration, you must use a colon(:) to separate the property from its value or values.
Within each declaration, you must use a semicolon(;) to separate each declaration from the next one.
Syntax:
selector { property: value; }- Example:
Three ways to insert Css
1.External Css:
Each HTML page must include a reference to the external style sheet file inside the
<link>element, inside the head section.inside the
<head>section, this<link>element add.This is not mentioned inside the
<style>element.Example:
<link href="style.css" rel="stylesheet" />
The link tag is used to relate the current document with the current one and the ‘rel’ attribute defines the relationship between the current and the linked document.
Note: Do not add a space between the property value and the unit:
Incorrect (space): margin-left: 20 px;
Correct (nospace): margin-left: 20px;
2.Internal Css:
The internal style is defined inside the
<style>element, inside the head section.Example:
<html>
<head>
<style>
body {
background-color: linen;
}
</style>
</head>
</html>
3.Inline Css
To use inline styles, add the style attribute to the relevant element. The style attribute can contain any CSS property.
Example:
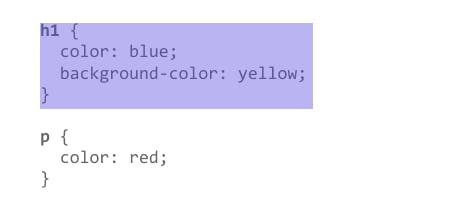
<html>
<body>
<h1 style="color:blue;text-align:center;">This is a heading</h1>
<p style="color:red;">This is a paragraph.</p>
</body>
</html>
In this lesson, we examine some of the simplest selectors, which you will probably use most frequently in your work.
What is selector
selector is a pattern of elements and other terms that tell the browser which HTML elements should be selected to have the CSS property values inside the rule applied to them.

Selector's List :
- Universal Selector
- Individual selector
- Class selector
- ID Selector
- Attribute Selector
Combinator's List
- Chained selector
- Combined selector
- Inside an element
- Direct child
- Sibling + or Adjacent sibling Combinator
- Sibling ~ or General Sibling Combinator
Universal Selector
- The universal selector is indicated by an asterisk (*). It selects everything in the document.
- The universal selector becomes helpful when you wish to put a specific style in all the HTML elements within your web page.
- The basic syntax of this selector is:
* {
     property : value;
  }
- Example:
* {
   margin : 0px;
   padding : 0px;
}
In the above example. All HTML elements will have 0px padding and margins, and it will overwrite default padding and margins with all HTML elements.
Individual selector If you read type selector on Google, then don't be confused individual selector also known as Type Selector..
A type selector is sometimes referred to as a tag name selector or element selector because it selects HTML tags/elements in the document.
Syntax:
element{
  property:value;
  }
Example:
div {
  background-color: yellow;
}
Class selector
- The .class selector selects elements with a specific class attribute.
- To select elements with a specific class, write a period (.) character, followed by the name of the class.
Syntax:
.class {
property:value;
}
Example: Style all
elements with class="fruits":
p.fruits{
background-color: pink;
}
ID Selector
- The #id selector styles the element with the specified id.
- It is used in the same way as a class selector.
- you can precede the ID with a type selector to only target the element if both the element and ID match.
Syntax:
#id {
css declarations;
}
Example: Style the element with id="firstname":
#firstname {
background-color: yellow;
}
Attribute Selector
- The [attribute] selector is used to select elements with a specified attribute.
- This are some attributes which we are use: [attr] [attr=value] [attr~=value] [attr|=value] [attr^=value] [attr$=value] [attr*=value]
- For example, [autoplay] will match all elements that have the autoplay attribute set (to any value).
- Example:
The following example selects all elements with a target attribute
a[target] {
background-color: yellow;
}
Chained selector
There are so many ways to chain selectors. I will be focusing on ones that are most commonly used.
- We can selected min 2 class names or Id names.
- Syntax:
<div class="name1 name2">...</div>
<style>
.name1.name2{property:value;}
/* Selects all elements with both name1 and name2 set within its class attribute */
</style>
- Example:
<div class="lec1  lec2">...</div>
<style>
.lec1.lec2{color: blue;}
</style>
Combined selector
- Combined selector also known as "selector list".
- The CSS selector list (,) selects all the matching nodes. A selector list is a comma-separated list of selectors.
- When multiple selectors share the same declarations, they can be grouped together into a comma-separated list.
- Single line grouping: This example shows grouping selectors in a single line using a comma-separated list
- Syntax:
<div> ... </div>
<p> ... </p>
<style>
div, p{property:value;}
/* Selects all <div> elements and all <p> elements */
</style>
- Example:
<div> ... </div>
<p> ... </p>
<style>
div, p{color:red;}
</style>
Inside an element
- Inside element also Known asdescendant combinator.
- Typically represented by a single space (" ") character — combines two selectors such that elements matched by the second selector are selected if they have an ancestor (parent, parent's parent, parent's parent's parent, etc.) .
Syntax:
selector1 selector2 {
 property:value;
}
Example:
li li {
list-style-type: circle;
}
Direct Child Combinator
- Direct child also known as child combinator.
- The child selector selects all elements that are the children of a specified element.
- The child combinator (>) is placed between two CSS selectors.
- Syntax:
selector1 > selector2 { style properties }
- Example:
div > p {
background-color: yellow;
}
Sibling + or Adjacent sibling Combinator
- The adjacent sibling combinator (+) separates two selectors and matches
- the second element only if it immediately follows the first element, and both are children of the same parent element.
Syntax:
former_element + target_element { style properties }Example:
div + p {
background-color: blue;
}
Sibling ~ or General Sibling Combinator
The general sibling combinator (~) separates two selectors and matches all iterations of the second element, that are following the first element "though not necessarily immediately", and are children of the same parent element.
Syntax:
former_element ~ target_element { style properties }Example:
p ~ span {
color: red;
}
last topic of this blog is "Pseudo-classes"
Pseudo-classes
- A pseudo-class is a selector that selects elements that are in a specific state, e.g. they are the first element of their type, or they are being hovered over by the mouse pointer. They tend to act as if you had applied a class to some part of your document, often helping you cut down on excess classes in your markup, and giving you more flexible, maintainable code.
- A pseudo-class consists of a colon (:) followed by the pseudo-class name eg. ":hover".
- :hover:-
Matches when a user designates an item with a pointing device, such as holding the mouse pointer over the item.
Pseudo elemets: Pseudo-elements behave in a similar way. However, they act as if you had added a whole new HTML element into the markup, rather than applying a class to existing elements. Pseudo-elements start with a double colon :: .
There are a couple of special pseudo-elements, which are used along with the content property to insert content into your document using CSS.
::before Pseudo-element
- ::after Pseudo-element
::before {
   css declarations;
}
- Example:
p::before {
  content: "Read this -";
   background-color: yellow;
   color: red;
   font-weight: bold;
 }
::after {
   css declarations;
}
- Example:Insert content after every element, and style the inserted content
p::after {
  content: " - Remember this";
  background-color: yellow;
  color: red;
  font-weight: bold;
}