

Express is a fast, unopinionated, minimalist web framework for Node.js which makes developing web applications easy. In this tutorial, you’ll learn how to create your first express web app from scratch in just a few minutes.
Let's Get Started!!!

What Is Express JS?
Express is a node js web application framework that provides broad features for building web and mobile applications. It is used to build a single page, multipage, and hybrid web application.
It's a layer built on top of the Node js that helps manage servers and routes.
Why Express JS?
Express was created to make APIs and web applications with ease,
It saves a lot of coding time almost by half and still makes web and
mobile applications are efficient.
Another reason for using express is that it is written in javascript as javascript is an easy language even if you don't have a previous
knowledge of any language. Express lets so many new developers enter the field of web development.
The reason behind creating an express framework for node js is:
Time-efficient
Fast
Economical
Easy to learn
Asynchronous
Step 1: Create A New Project
The first step is to initialize a new project. Therefore create a new empty project folder:
$ mkdir express-app
Change into the newly created folder:
$ cd socialapp
In init the project by creating a package.json file by using the Node.js Package Command in the following way:
$ npm init -y
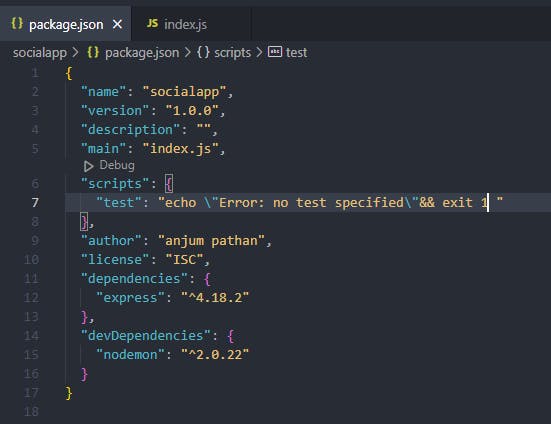
The output confirms that the package.json file has been created successfully as you can see in the following screenshot:
Step 2: Install nodemon
Nodemon will monitor for any changes in your source and automatically restart your server.
npm install -d nodemon
Step 3: Install Express Framework
In the next step we’re ready to install the Express framework. Just type in:
$ npm install express
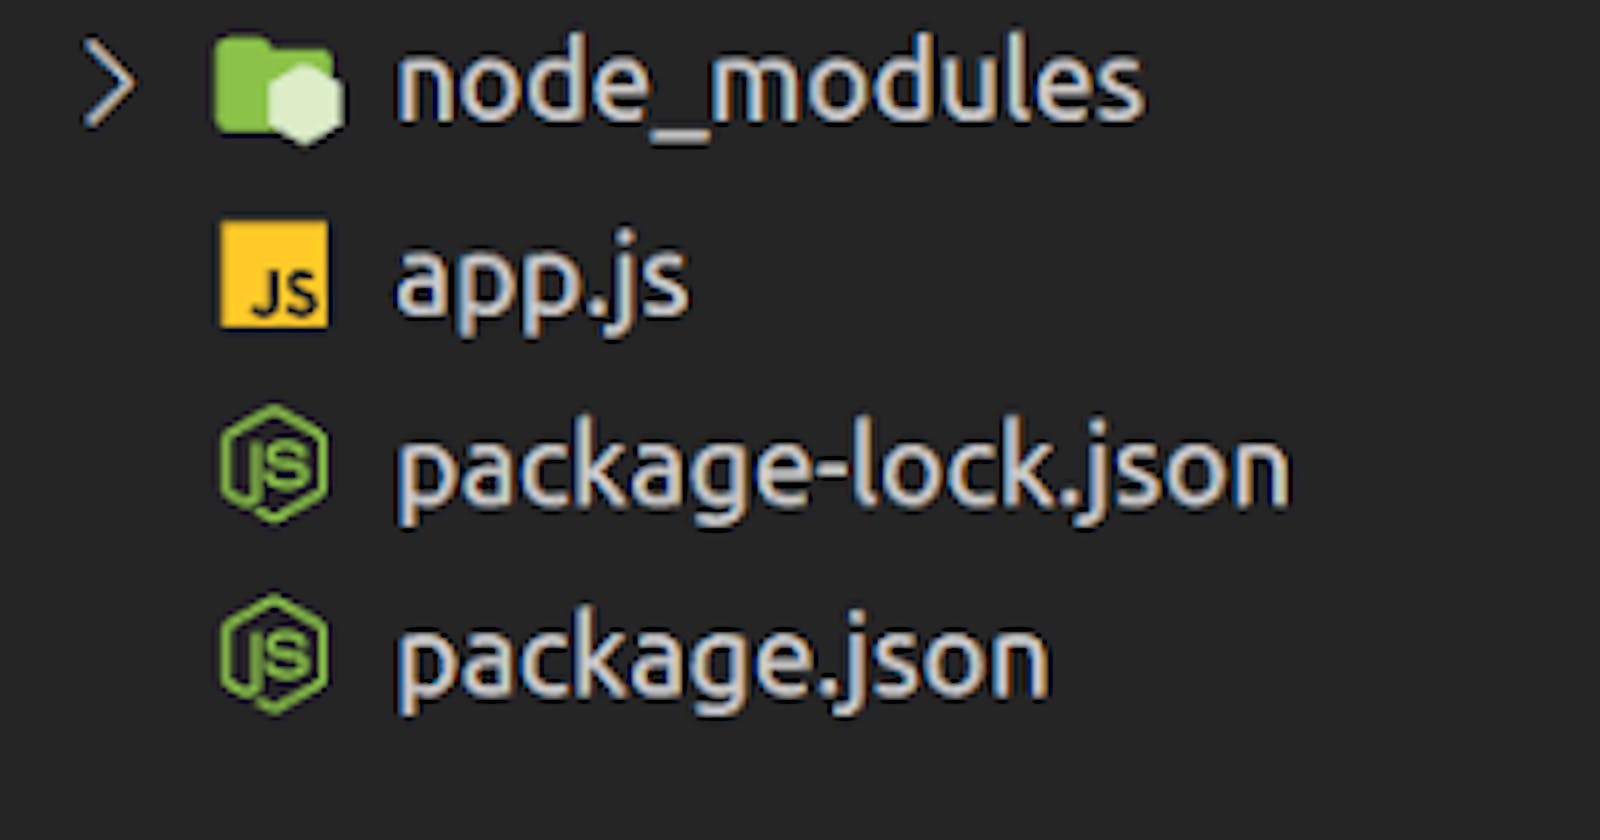
The express package and its dependencies are added to the project:

Step 4:Create Express Server
Before proceeding further, you need to create the JavaScript file for the web server. You can do so by running the following command in your terminal:
touch index.js
Open the file, and start by writing the following lines:
const express = require('express');
const app = express();
What are these two lines doing?
With the first line, you import Express into your project so you can use it. Each time you add a package to your project, you need to import it where you want to use it.
In the second line, you call the express function, which creates a new application and then assigns the result to the app constant.
Step5:Create routes and listen on a specific port
In the simplest terms, a route represents an endpoint that people can access. A route is associated with an HTTP verb and it takes a URL path. It also takes a function that is called when the endpoint is accessed.
Write the following code in your file:
app.get('/', (req, res) => {
    res.send({ message: 'Hello' });
});
Let’s dissect the above code:
It’s associated with an HTTP verb — in this case, it’s the GET verb.
It takes a URL path — in this case, it’s the homepage (
/).It takes a function that will be called when you access the endpoint.
Therefore, when a person makes a GET request to your homepage, localhost:1111, the arrow function is called and will display "Hello"
The last step for the server to work is to set up a listener. You need to set a specific port for the application. Write the following code at the end of your JavaScript file.
app.listen(1111, () => {
    console.log('Application listening on port 1111');
});
You need to call the method listen to be able to start the server. Also, you can replace the port number (1111) with whatever number you want.
Now you can run "npm start".
Access the app in the browser
To start the application, run node index.js in the terminal. Mind you, index.js is the name I chose for this tutorial. However, you can name it app.js or whatever you want.
Now that the server is running, you can access it in your browser. Go to http://localhost:1111/, and you should see the following message:
A screenshot of the app
Well done for setting up a Node.js + Express web server! In the next section, you will set up the static assets, such as JavaScript, CSS, HTML, images, etc.
Static Assets
The application does not look too nice at the moment. Would it not be nicer with a bit of structure and styling? But where should you add them?
In this section, you will see how to set up and serve static assets such as HTML, CSS, JavaScript, and images.
Import the path module
The first step you have to make is to import the path module into your application. You do not have to install anything, because path comes by default with Node.
At the top of your file, write the following line:
const path = require('path');
But why do you need this module? The path module allows us to generate absolute paths, which you need to serve static assets. Add the following line of code (before defining the routes) in your application:
app.use(express.static(path.join(__dirname, 'public')));
path.join takes two arguments:
The current working directory (cwd)
The second directory, the one we want to join with the cwd
As an exercise, try printing out to the console path.join(__dirname, 'public') to see what you get.
Your server should look like this so far:
const path = require('path');
const express = require('express');
const app = express();app.use(express.static(path.join(__dirname, 'public')))app.get('/', (req, res) => {
    res.send({ message: 'Hello' });
});app.listen(2222, () => {
    console.log('Application listening on port 2222!');
});
Conclusion
Congratulations on making it to the end of the article. By now, you should have a simple web application.
In this article, you learned:
about Node.js
about Express and how to use it to create a small web application
how to create routes
how to set up static assets in a Node.js + Express application
If you enjoyed the article, and if you want a part 2 where you add a database such as Mongo, let me know in the comments